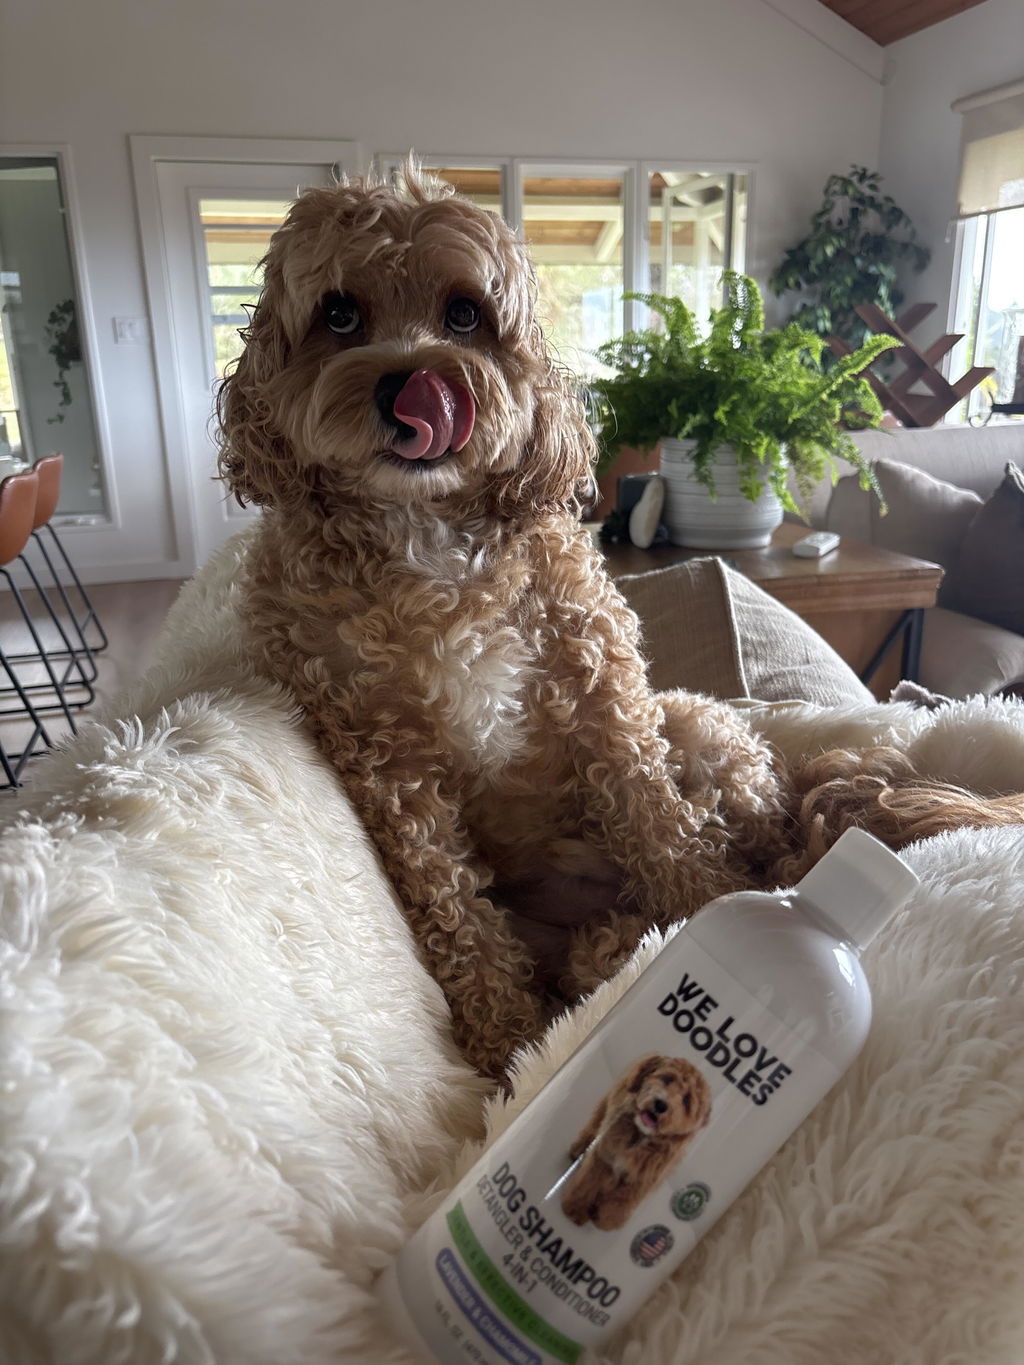
Doodles win the lottery on personality and lose it on ears. The floppy shape, the hair that grows down into the canal, and a love of water add up to one of the most infection-prone ear setups in the dog world. The good news is that a simple, consistent routine prevents most of the trouble. This guide covers how often to clean, exactly how to do it, what to put in the ear (and what to never use), the real debate over plucking ear hair, and how to catch an infection before it becomes a vet bill.

Why are doodles more prone to ear infections than most breeds?
Doodles get ear infections because their ears combine three risk factors at once: floppy flaps, hairy canals, and trapped moisture. Each one alone raises the odds; together they create a warm, dark, humid pocket where yeast and bacteria thrive.
According to the American Kennel Club, breeds with floppy ears are among the most prone to ear infections, because the flap seals off airflow and holds warmth and moisture against the canal. Doodles inherit a second problem from their Poodle side: hair that grows inside the ear canal. That hair traps wax, dirt, and debris and blocks the air that would otherwise keep the canal dry. Add the Poodle-cross love of swimming and frequent baths, and water sits exactly where it should not.
The anatomy makes it worse. As VCA Animal Hospitals explains, a dog's ear canal bends in an L-shape, so debris that collects deep in the horizontal part cannot easily shake loose on its own. In a doodle, that hidden bend fills with hair and wax that the dog simply cannot clear without help.
I have a wavy-coated doodle, Juno, and her first summer taught me this the hard way. She swam almost daily, I toweled off her body but never her ears, and within three weeks she was scratching at one ear and tilting her head. The vet found an early yeast infection. Nothing was wrong with my dog — I just had not understood that her ears needed a job I was supposed to be doing.
How often should you clean your doodle's ears?
Most doodles do well with an ear cleaning every one to two weeks, but the honest answer is "only as often as they actually need it." Over-cleaning is a real mistake, and a healthy ear left alone is usually better than a healthy ear flushed on a rigid schedule.
According to Cornell University's Riney Canine Health Center, maintenance cleaning every one to two weeks suits most dogs, while dogs with allergies, recurrent infections, or floppy ears often need it more often. Hill's Pet echoes this: floppy-eared, hairy-eared dogs and those in warm, humid climates frequently need cleaning weekly or every other week. Because a doodle usually checks every one of those boxes, the every-one-to-two-weeks rhythm is a sensible default.
The flip side matters just as much. The AKC advises cleaning only when the ear needs it rather than on autopilot, because flushing a clean, healthy ear too often can irritate the delicate canal lining and actually invite problems. A healthy doodle ear looks pale pink, smells neutral, and feels comfortable to touch. If it looks like that, a quick visual check is all it needs that day.
The single highest-value habit is cleaning after water. Every swim, bath, or thorough soaking is a reason to dry and check the ears the same day. Juno's whole pattern changed once I added a thirty-second ear dry-and-check to our after-swim towel routine. The infections stopped, and I was no longer cleaning "just in case" on days she did not need it.
How do you clean a doodle's ears at home, step by step?
You clean a doodle's ears by filling the canal with a vet-approved solution, massaging the base of the ear, letting the dog shake, and wiping away what comes up — never by digging into the canal. The motion you want pulls debris up and out, not deeper in.
Here is the routine most veterinarians describe, including the AKC's Dr. Jeff Grognet:
- Settle your dog and gather supplies. Have your cleaner, cotton balls or a soft cloth, and treats ready before you start. Sit on the floor with a medium or large doodle tucked gently between your legs.
- Fill the canal with cleaner. Lift the ear flap and squeeze the vet-approved solution into the ear canal until it is full. Do not let the bottle tip touch the ear, which spreads contamination.
- Massage the base of the ear. Gently rub the base of the ear between your thumb and finger for several seconds. You will hear a squishing sound — that is the solution breaking up wax and debris deep in the L-shaped canal.
- Let your dog shake. Step back and let your dog shake its head. This brings the loosened debris up out of the canal where you can reach it.
- Wipe, don't dig. Use a cotton ball or soft cloth wrapped around your finger to wipe out the visible part of the ear and the flap. Only clean as far as your finger naturally reaches.
- Dry and reward. Gently dry the area, then give the treat. Ending on a good note makes the next session easier.
Two firm rules come up in every reputable source. First, never use cotton swabs (Q-tips) inside the canal — as VCA warns, they push debris deeper and can damage the eardrum. Second, stop immediately if your dog shows pain, or if the ear is red, swollen, or smelly. The AKC is clear that you should not clean an ear that already looks infected; that is a vet visit, not a cleaning.
The first time I tried this, I did it wrong — I dabbed at the surface with a dry cotton ball and called it done. My groomer watched me describe it and gently corrected me: the cleaner has to go in and the massage is the part that works. Once I actually filled the canal and let Juno do the shaking, the cotton ball came out with debris I never knew was in there.
What ear cleaner should you use, and what should you never put in your doodle's ears?
Use a vet-approved dog ear cleaner — ideally one with a drying agent — and never use hydrogen peroxide, vinegar, alcohol, or home oils. The wrong liquid does more harm than the dirt you are trying to remove.
According to Cornell and VCA, you should avoid anything containing alcohol or hydrogen peroxide, because both irritate the canal, especially if it is already inflamed. Hill's Pet goes further and warns against the popular home remedies too: hydrogen peroxide can kill healthy skin cells in the ear, and coconut oil, castor oil, apple cider vinegar, and rubbing alcohol should never go in a dog's ear. It is worth being blunt here, because "natural" ear-cleaning recipes are everywhere online and many of them are genuinely risky.
What you want instead is a veterinary-recommended cleaner, and for a swim-happy doodle, one with a drying component is ideal. As veterinary educators note, solutions without a drying agent can leave moisture behind and predispose some dogs to infection — the opposite of the goal. If your doodle already has sensitive or irritated skin, ask your vet for a gentler formula rather than guessing.
Honesty matters more than brand loyalty here. No single cleaner is right for every doodle: a dog with chronic yeast issues, a dog with allergies, and a healthy dog who just swims a lot may each do best on different products. The most trustworthy move is to match the cleaner to your dog's actual ears, ideally with your vet's input, rather than buying whatever ranks first in a list.
Should you pluck your doodle's ear hair?
You should not routinely pluck your doodle's ear hair, and many veterinarians now actively advise against it unless there is a medical reason. This is the single most outdated piece of doodle grooming advice still floating around, and getting it wrong can cause the very infections plucking was supposed to prevent.
For decades, groomers pulled hair from the canals of Poodles, Doodles, and Schnauzers on the theory that bare canals breathe better and stay drier. Newer thinking has shifted. As Preventive Vet explains, plucking is genuinely controversial, and the practice can create microscopic tears in the canal lining that let bacteria in. Their veterinarian, Dr. Beth Turner, puts it plainly: plucking is not necessary or recommended for all dogs, even many with chronic infections, and it should be done only carefully, only when truly needed, and ideally for dogs with copious canal hair plus recurring infection.
The better default for most doodles is trimming rather than plucking. Ask your groomer to carefully thin and trim the hair around and just inside the ear opening so air can move and wax cannot tangle, without ripping hair out by the root. The AKC similarly recommends keeping the hair in and around the canal opening thinned and trimmed. If your individual dog truly does need plucking for a medical reason, have your veterinarian do it or supervise it.
A reader of mine lived this exact lesson. Her doodle came home from the groomer with freshly plucked ears and, within two days, a raging infection that needed medicated drops and steroids. She switched to a groomer who trims instead of plucks and added a simple weekly cleaning, and the recurring infections stopped. Her takeaway is the one I now give every new doodle owner: ask your groomer whether they pluck or trim before you book, not after.

What are the warning signs of a doodle ear infection?
You can spot a doodle ear infection by watching for head shaking, scratching, redness, swelling, a bad smell, and dark or unusual discharge. Doodles hide discomfort well, so the early signs are behavioral before they are visible.
The signals worth knowing, drawn from AKC and veterinary guidance, include: persistent head shaking or tilting, scratching or pawing at one ear, redness or swelling inside the flap, a yeasty or foul odor, brown, yellow, or black waxy discharge, and pain or whimpering when you touch the ear. "Black wax" in particular is a frequent doodle search term, and dark, coffee-ground-like buildup often points to a yeast or mite problem that needs a vet, not just a wipe.
Catching it early is not just kinder, it is cheaper and safer. The AKC warns that untreated ear infections can spread to the middle and inner ear and lead to lasting damage, including hearing loss. If you see these signs, do not clean the ear and hope — book the vet. A simple ear swab tells the vet whether it is yeast, bacteria, or both, which determines the right treatment.
When Juno had her early infection, the only sign for two days was a slightly off head tilt and one extra scratch session. I almost wrote it off as an itch. Now a head tilt is my trigger to lift the flap and look, and that thirty-second check has caught two minor flare-ups before they turned into anything serious.
How do you prevent doodle ear infections long-term?
You prevent doodle ear infections by keeping the ears dry, keeping the canal hair trimmed, cleaning on a sensible rhythm, and managing any underlying allergies. Prevention is mostly about moisture control and consistency, not heroics.
The core habits that work:
- Dry the ears after every swim and bath. Moisture is the number-one driver, so a towel and a quick check after water is the highest-impact habit you have.
- Keep canal hair trimmed, not plucked. Thinned, trimmed hair lets air flow without the trauma of pulling.
- Clean on a need-based schedule. Every one to two weeks for most doodles, more if they swim hard or have a history of infection, and skip it when the ear is already clean and healthy.
- Check the ears during every grooming session. Lift the flap, look, and sniff. Healthy is pink and odorless.
- Treat the root cause. Allergies drive a huge share of chronic ear infections. If your doodle keeps getting them despite good care, ask your vet about allergy testing rather than fighting the same infection on repeat.
A neighbor with a doubly water-obsessed labradoodle built the simplest version of this: a towel by the back door, a weekly Sunday-night ear check, and a standing note to her groomer to trim the canal hair every visit. Her dog has not had an infection in over a year. None of it is complicated — it is the same few habits, done every time.
What does a real doodle ear-care routine look like?
A real routine is dry-after-water, a weekly look, a clean every week or two, and a trim-not-pluck rule with the groomer. Here is Juno's before-and-after, offered as a realistic case study rather than a perfect one.
Before: no ear routine, no drying after swims, plucked ears at the groomer, and ear care only when something already looked wrong. The result was two infections in one summer, two vet visits, and a dog who started flinching when I went near her ears.
After: a vet-approved drying cleaner used every one to two weeks (and always after swimming), a thirty-second flap-lift-and-sniff check built into our towel-off routine, a groomer who trims the canal hair instead of plucking it, and treats every single time. The result was a full year with zero infections, a dog who now tolerates ear handling calmly, and far less money spent at the vet.
Nothing in that "after" column is hard or expensive. It is moisture control, a light cleaning rhythm, and one good conversation with the groomer. That combination — not any single miracle product — is what keeps a doodle's ears healthy for the long haul.
What does black wax in my doodle's ear mean?
Dark, black, or coffee-ground-like wax often signals a yeast infection or ear mites. Don't just wipe it away — see your vet for a swab so the right treatment can be chosen.
When should I take my doodle to the vet for its ears?
Go to the vet if you see redness, swelling, a bad smell, unusual discharge, persistent head shaking, or pain when you touch the ear. Untreated infections can spread and cause lasting damage, so early care is safer and cheaper.
This article shares general grooming and ear-care guidance and reflects firsthand owner experience. It is not a substitute for advice from your veterinarian, who can examine your individual dog and recommend the right products and routine.